
Solutions / Equipment Operation
iWave AutopilotManufacturing Expertise in Action.
Explore Innowave Tech implementations in equipment recovery, process self-healing and orchestration. Then see how Builder Agents turn engineering knowledge into workflows for the next task.
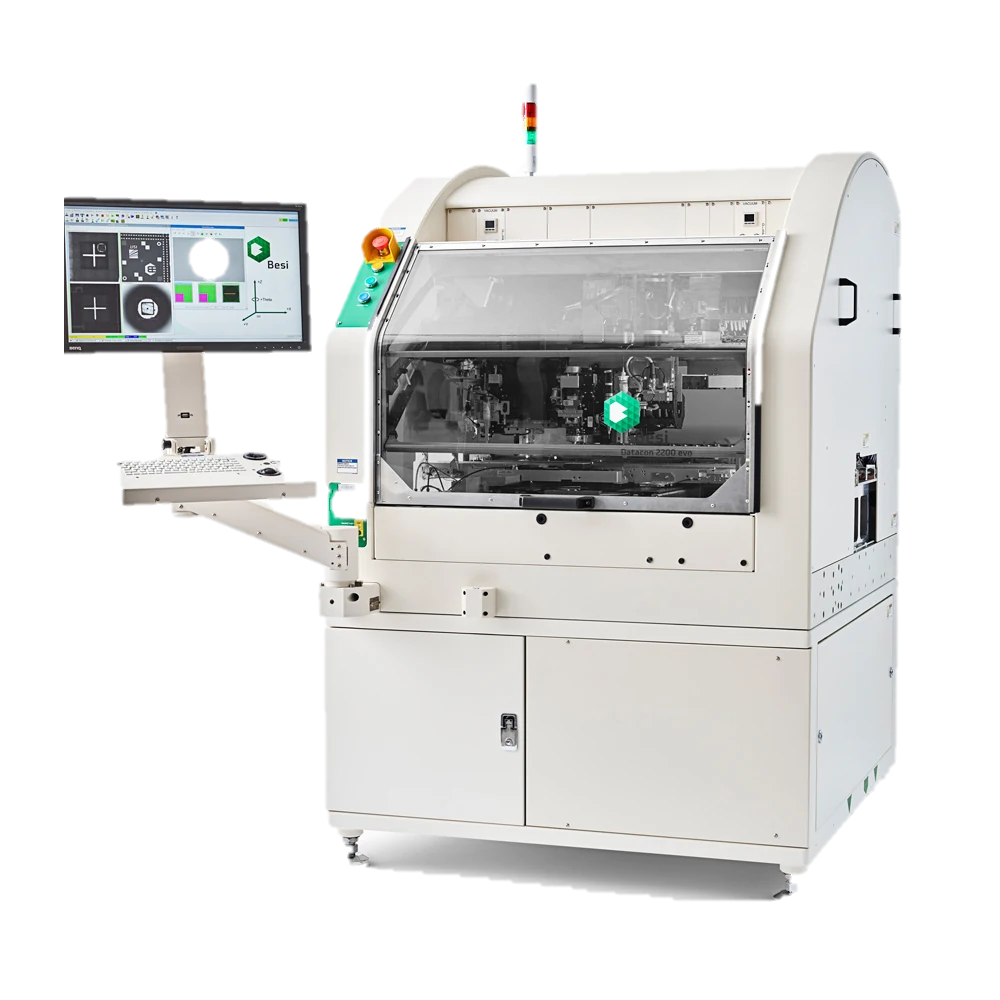
01 / Besi Datacon Evo Series
A Known Alarm.
A Qualified Response.
- Check Control
Confirm the agent can act.
- Apply the Qualified Recovery
Follow the programmed response.
- Verify the Equipment State
Check the result before proceeding.
When an equipment alarm interrupts the operation, the next action depends on the condition, the available controls and the recovery procedure.
Autopilot checks that control is available, follows the recovery sequence qualified for that alarm and checks the resulting equipment state. An operator retains priority. An unresolved alarm or an unhandled condition follows the escalation path.
Implemented Alarm Scenarios.
- Adjust Point Not Found
- Post Bond Search Failed
- Data Exchange Error
- Datamatrix Search Failed
- Error Result Post Bond Inspection
Each response is specific to the equipment condition and qualified recovery procedure.
See How Autopilot Executes at the Edge02 / Actual Use Case · Die Bonder
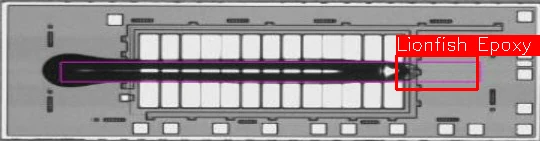
Keep the Post-Epoxy Process on Course.
iWave Insight + iWave Autopilot
OffsetHeight
Offset
InsightDetermine the correction
AutopilotApply qualified offsets
Detect process drift, determine the correction and apply it at the equipment—then keep watching the result.
- 01
Detect the Drift
Insight identifies drift in the die bonder’s post-epoxy process results.
- 02
Determine the Adjustment
Insight determines the recommended offsets to epoxy gun pressure and height.
- 03
Apply the Correction
Autopilot applies the qualified offsets to keep the process within the required conditions and prevent an epoxy error.
- 04
Monitor the Next Result
Continue monitoring the post-epoxy results to assess the correction and identify further drift.
03 / Ueno SEKI Tape and Reel AVI
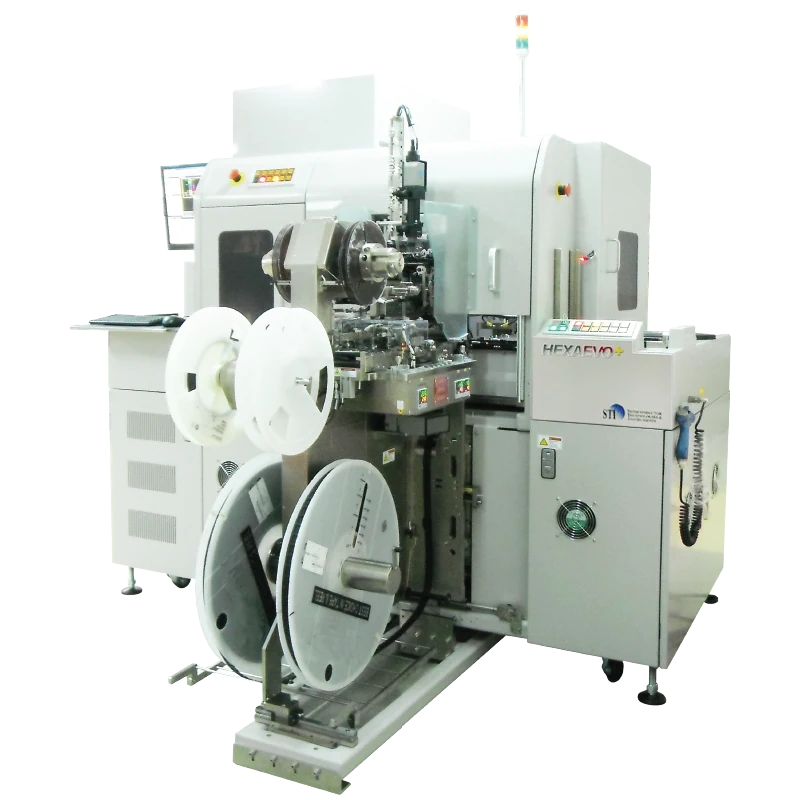
Tune the Machine as One System.
Coordinated, Bounded Adjustments
- Nozzle Arm
- Pick-and-Place
- Indexing Stage
- Turret
The nozzle arm, pick-and-place, indexing stage and turret influence one another. Deep orchestration coordinates their adjustments around the same quality and throughput objective.
Inspection results and process-health observations guide a bounded tuning workflow. Following maintenance, that workflow helps retune the machine toward its highest sustainable units per hour, while keeping quality and equipment conditions in view.
- 01
Observe the Process
Bring together inspection quality, equipment alarms and the state of the machine’s functions.
- 02
Adjust within Defined Limits
Coordinate the relevant functions and make one bounded tuning step.
- 03
Check before Going Further
Evaluate the resulting quality and alarm behavior before the next step. Hold or roll back when a limit is reached.
The operating objective is sustainable throughput within the qualified process limits.
04 / Process Tools, Metrology and OCAP
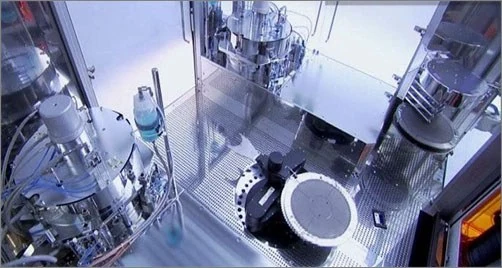
From Tool Health to Lot Disposition.
Lower Tool Health
Higher Sampling PriorityHigher Tool Health
Lower Sampling PriorityTool health sets sampling priority. Engineers retain the disposition decision.
Follow the Disposition StepsBroad orchestration connects equipment health to the lots that need attention, the metrology work to perform and the corrective action that follows.
Focus Measurement Where It Matters.
Health-monitoring agents analyze process tools. Lots from tools with a high health index receive lower metrology sampling priority; lots from tools with a low health index receive higher priority. Lower priority does not mean automatic metrology bypass.
Automate the Metrology Work.
Innowave Tech has implemented the following scenarios across these equipment families. The list represents our implementation portfolio, rather than a single five-tool production line.
- Hitachi CDSEM
- Alarm recovery and corrective action covering alignment, addressing, measurement and confirmation. Recipe reteaching.
- KLA Overlay
- Alarm recovery and recipe reteaching.
- Onto AMT
- Alarm recovery and recipe reteaching.
- AMAT AMP
- Alarm recovery and recipe reteaching.
- KLA Dark Field Inspection
- Process start and stop, recipe selection and recipe creation.
Connect the Corrective Actions.
Automated out-of-control action plans (OCAP) can trigger a lot for additional measurement, reteach a recipe after an alarm or anomaly, and coordinate lot disposition.
Automated Progression.
Engineer Authority.
Only disposition confirmation and sign-off require an engineer. The remaining steps are automated.
- 01Automated
Hold the Lot
- 02Automated
Collect and Review the Data
- 03Automated
Perform MRB Analysis
Material Review Board analysis prepares the evidence for the disposition decision.
- 04Manual / Engineer
Confirm the Disposition Action
Release / Pass · Rework / Strip · Scrap · Split Lot · Engineering Evaluation
- 05Manual / Engineer
Sign Off
The engineer signs off the disposition before the workflow proceeds.
- 06Automated
Unhold
Remove the hold in accordance with the signed-off disposition. Unhold does not mean unconditional release to production.
How the Qualified Workflow Runs
Recognize the Condition
The qualified agent identifies the condition covered by its configured workflow.
Check the Prerequisites
Confirm that the required context and permitted operating conditions are present.
Carry Out the Response
Execute the defined response through the qualified equipment interface at the equipment edge.
Verify the Next State
Check for the expected result. When a condition has no programmed response, take no unapproved equipment action and follow the engineering escalation path.
Illustrative workflow. Interface access, live-data dependencies and exception handling are defined for the intended equipment and task.
AI Scalability / Builder Agents
Adapt the Workflow to the Next Task.
Post-maintenance verification needs different steps, conditions and checks from routine setup. Builder Agents adapt the workflow from the new demonstration and procedure. Simulation and engineer qualification follow before equipment-edge execution.
See How the Workflow AdaptsYour Expertise. New Possibilities.